Friday, January 31, 2014

DIY 10 minute pillow covers

     Do you find a needle and thread to be challenging?  A sewing machine to be expensive and intimidating?  Well, if you answered yes to any of these questions, than you are just like me.  I don't let my lack of sewing skills stop me from making things around my  home.  In fact, I find it to be a challenge worth doing.

     I had this small feather pillow form that belonged to my youngest daughter,  perfect for her toddler bed.  It always drove me nuts when the feathers would end up all around the room, but it was the perfect size for her and super soft.  I also had purchased years ago a small table runner.  By small, I mean it didn't run the length of the table, but looked nice simply in the middle. 

     I had since stopped using it, and it was in my growing pile to donate, when it occurred to me it was the perfect size to turn into a pillow and, since I already had the pillow form..... why not?  Oh right, I don't sew.  I was not about to let that stop me.

     One thing I can do is hot glue things with the best of them.  Glue of any type is my go-to when I am having problems getting things to stay where I have planned them. 

 
As you can see here, fabric, pillow form and hot glue gun.


   Just fold over and glue. :-)  It is just like wrapping a present.


I didn't time myself, but I know this didn't take me longer than 10 minutes.  I might add some contrasting trim, and you can bet I'll be using my hot glue gun.


Thursday, January 30, 2014

My top 5 Pottery Barn vignettes....

     Last weekend I took my girls to Build-a-bear at the mall.  After they finished making not bears but My Little Ponies instead, we headed to the Pottery Barn.  It's one of my all time favorite stores and catalogs and I have a mixture of Pottery Barn furnishings, decorative accents, as well as bedding.  Sometimes, I head there to specifically shop for an item, and other times  just to be inspired.  I swear I should get a job there!

     While walking around, I started thinking about past Pottery Barn pins from Pinterest that I have loved.  I decided to share with you all today, my top 5 favorite vignettes.


I love the long table that provides plenty of display room.  This space lends itself to an equestrian/farm look without being to overt.  I also have a fondness for gallery walls.  Everything feels collected over time.


This is a recent one that keeps popping up.  I love the casual sophistication as well as the colors.  This is vignette that can be easily copied.


I love this one because I am wanting warmer weather after this cold winter spell.  The numbered pails are an adorable touch and break  up the greenery.


I've seen this same vignette inside the Pottey Barn store.  I love the indigo look for the upcoming Spring.  It's an interesting mixture of wood and blues.


Be still my organizational heart!  What's not to love about this?  I love how everything is easily accessible, on display and organized.


Wednesday, January 29, 2014

DIY art work

     Another school delay this morning, but since the kids plus an extra are super cooperative, I thought I would get this posting out early.

     Yesterday's  post was all about the mostly finished gallery wall.  Remember, I still have a few more things coming in, and from there I will determine if anything else is needed.


I purchased 2 pagodas, assuming they were 2 different styles, as shown on the website. I have to return the larger size but it is  tempting to hold onto it for another project. 
 
I already had both canvases which I bought at Michael's craft store shortly after the Holidays.  Michael's was having a huge buy 1 get 1 free canvas sale.  For $8 I got 2.  Pretty sweet deal.


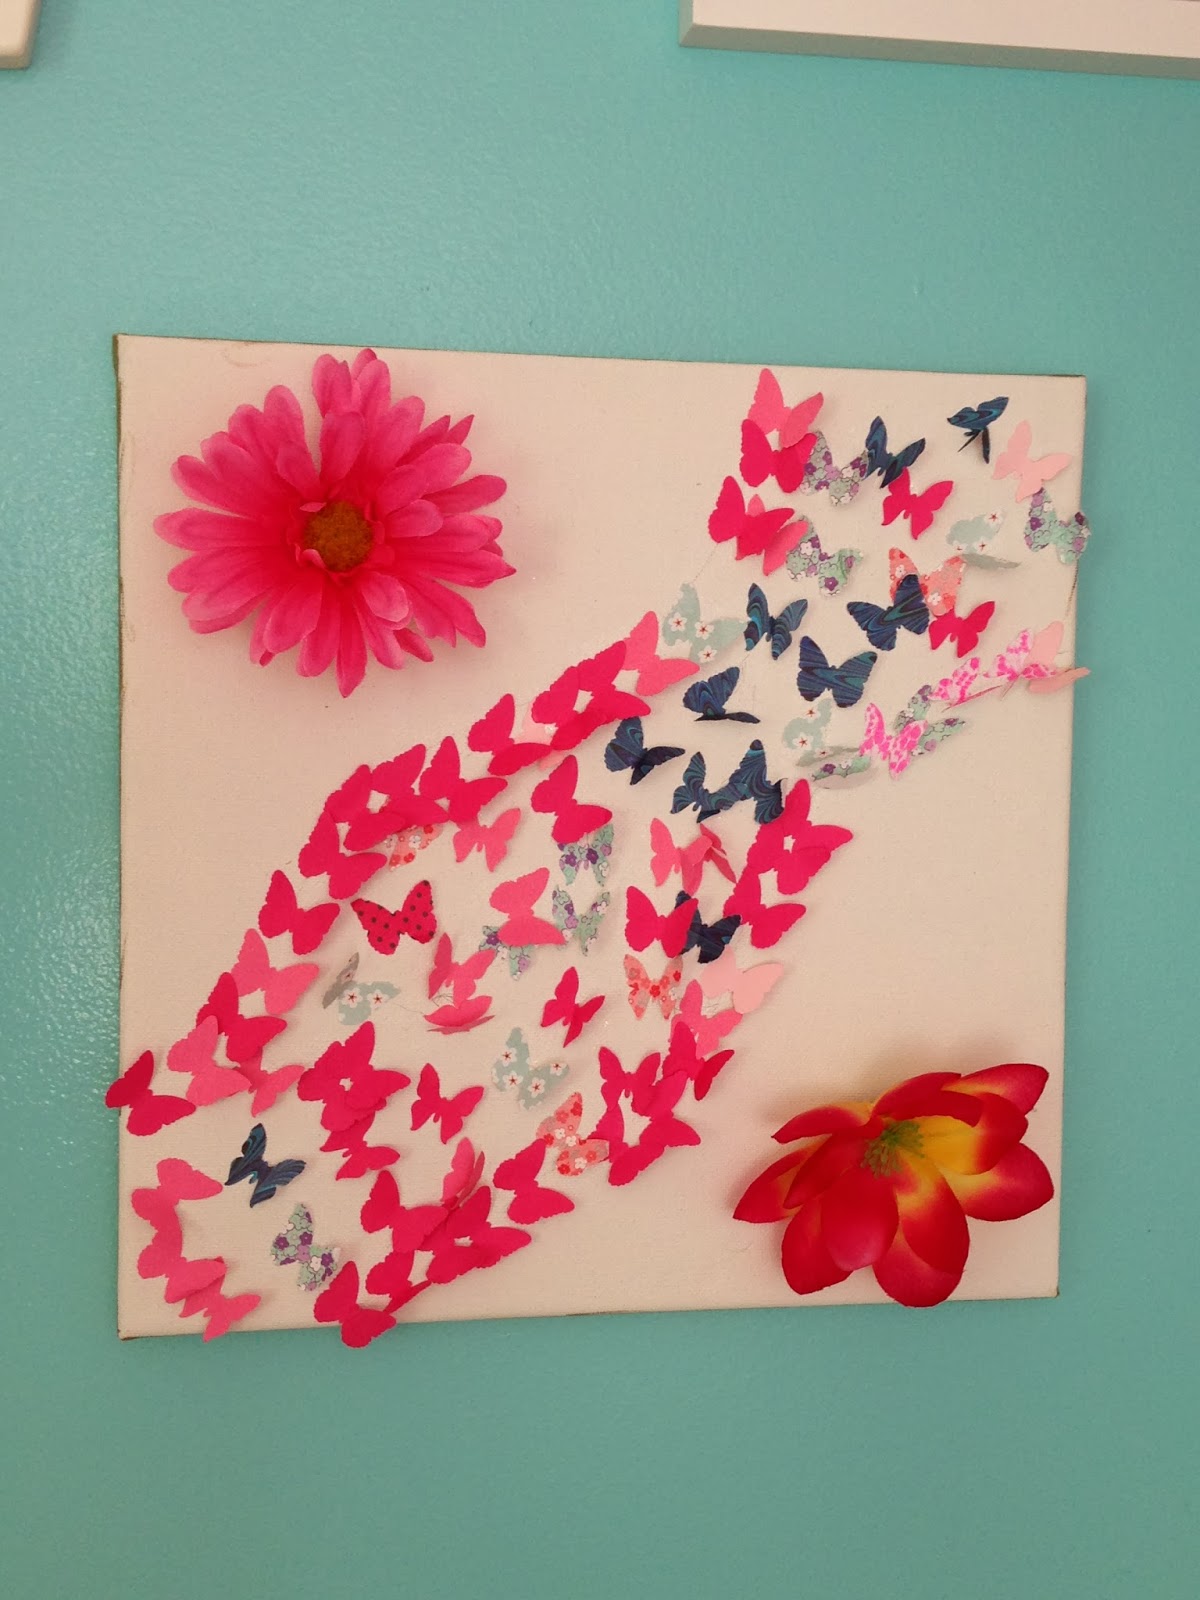
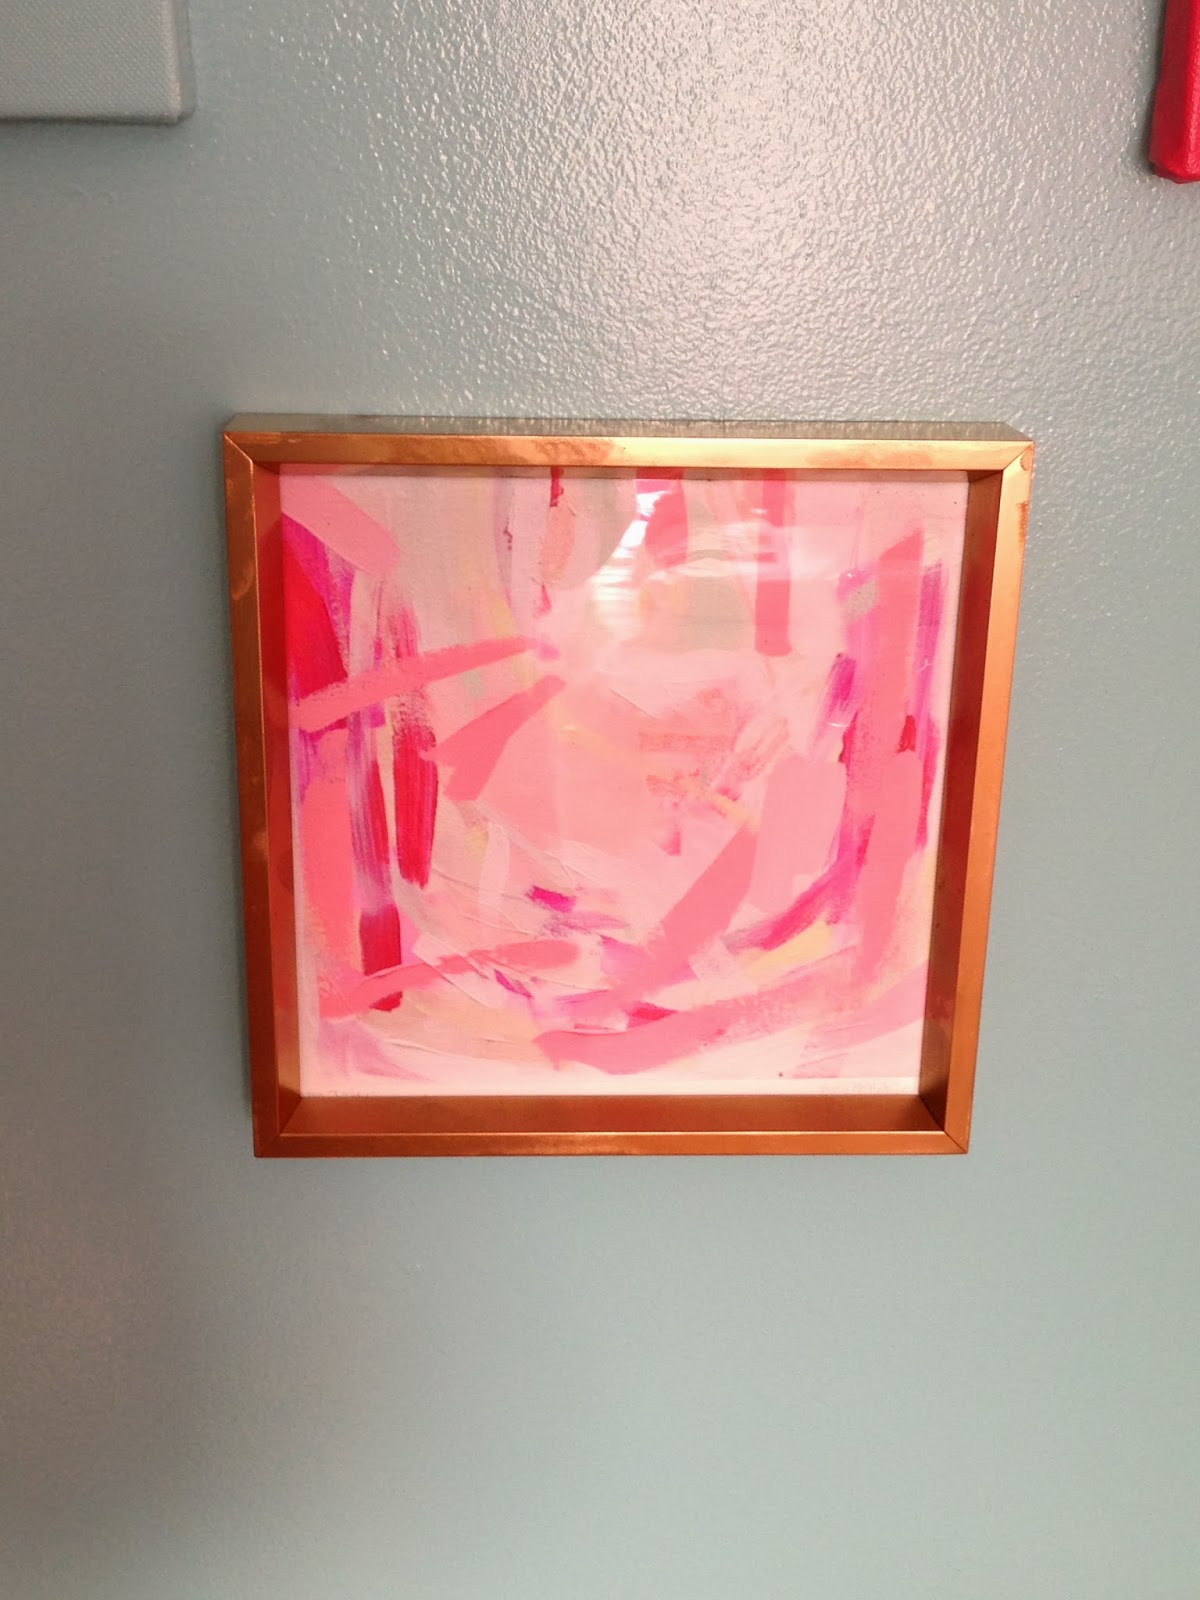
I used the same pink that I used on the wall.  The canvas on the left is my beginning attempt at abstract art.  Don't worry, I'm not going to quit blogging to become an abstract artist any time soon.

 
I used 2 coats of paint and let each coat dry for about an hour before adding the next layer.
 

     The O'verlays come with instructions on how to adhere them to surfaces, because this is so light weight, I decided to use just regular Elmer's glue.  So far, so good.

     I've mentioned in past posts, that I am loving the look of abstract paintings.  I've always loved art, but mostly studied the Medieval as well as the Renaissance time period, so abstract is a foreign concept for me.

     I searched through out Etsy for inspiring pieces and these are a couple of examples, I came up with.


     You can find both of these incredible pieces on Etsy, but be forewarned, they are not cheap.  So, what's a Mom, with an untrained artistic eye and a not so steady hand to do?  Make my own of course!!!

 
Again using the same colors for the walls that I already had, I simply just painted.  Don't give this to much thought.  Just go with it and enjoy it.  If it doesn't come out as you have envisioned, then just paint over it.  I'm kind of happy that my girls have something their Mom created, if in a few years, they decide having a piece of art work made by their Mom isn't cool, then really not a big deal.


     My last step was to take my Krylon gold sharpie and have a little fun with color blocking.  Again, don't over think this, just have fun with it.


Tuesday, January 28, 2014

Gallery wall and DIY art

     I am feeling really good with how B and C's room is turning out.  At times, I've questioned if it was coming along as I have envisioned, but after putting up the gallery wall, I can see now I am on the right path.  The girls are excited to see all the changes, which really is all that matters. 
     I knew I wanted to create a gallery wall along this one wall. It needed to be fun and colorful.  Some of the pictures that inspired me are as follows:


Don't these walls look great?
 
Well, here is my little recreation of a gallery wall.


Here's a look at the entire wall.  I have a couple of empty frames still waiting for the art pieces to come in.  I might add a couple of new pieces to fill in some gaps.  The toddler bed will be replaced within the next month to a twin size day bed to match with her big sisters.
 
 
The faux taxidermy was bought off of Etsy.
 
 
Another great find from Etsy.

 
An original work of art by my talented 7 year old.


Tomorrow's blog will be all about my own DIY art work.  That's right, that abstract painting is my own original piece.
 
Please leave me a comment below and let me know what DIY projects you are currently working on?


Monday, January 27, 2014

Ikea footstools getting customized

     Happy Monday everyone!!  I hope you all had a great weekend.  I know I sure did.  My creative juices were flowing, and as such I managed to get a few projects started/finished, some on my list and others that suddenly inspired me to drop everything and do.

     A few months ago, I bought 2 small footstools from Ikea.  Super cheap at just $14.99 apiece.  I picked out the off white canvas slipcover figuring I could just bleach away when needed.  My initial plan for them was to flank them on each side of my bookcase, but when I got them set up, they came up, well kinda short, plus the off-white slipcovers didn't look right next to my very bright white bookcase. See my dilemma? I knew I would find a home for them eventually and recovering them would be a snap.

    Here are a few pictures I found off Pinterest that really inspired me.  


     I headed to Jo-ann's and hit it big with 50% off all their fabric. I knew ahead of time that my 2 footstools would not be paired together, so I chose 2 separate fabrics.  Both were on sale for $5.99 a yard and I bought 2 yards of each fabric. For $24 bucks, plus just a few extra dollars for a little bit of trim, I managed to customize these footstools to my own liking.  

     What I used to cover the footstools was my staple gun and my hot glue gun.  You will also need a pair of fabric scissors to trim to size.  If you didn't want to permanently attach your fabric you could easily substitute the glue for velcro strips.  I used 2 yards for each with some fabric left over, (for future sofa pillows), and 2 yards of trim for each, with very little left over.  You can omit the trim, but I chose to include it, as I just liked the look.  
     I started with the top of the footstool.  I spread out my fabric and placed the top on it.  I then just cut out a large square, giving me enough fabric to fold it on top and staple.  Work on one side first with a staple and then pull the opposite side taut and again place a staple. 

Here it is without the slipcover.


                                              Fabric and trim for footstool 1.


         Stapled underneath.  I use a little bit of hot glue to keep the fabric down before stapling in place.          

Here's what the top looks like finished.


This is an interior wall inside the footstool.  I hot glued the top and stapled.  You can see at the bottom, the material was a little longer.  I simply folded it over and gave it a bit of hot glue to make a seam.


This is before I added the trim.  You can leave it as is or add a decorative trim.  I applied the trim using a hot glue gun.


                        Here's what the finished project looks like.

 My next thing to do, is to just press it to get the wrinkles out and then spray some scotch guard to protect it.


Here is the second one I made using the same exact steps as the first.  You will be seeing this same fabric again in a future post.


Wednesday, January 22, 2014

DIY artwork for my bedroom walls

      I have been searching for artwork for both my bedroom as well as my girl's bedroom walls.  What I have been running into frequently is the use of gold typography.  If gold isn't your thing, you can really use any color, so if you love the look of red, then go for it!  I just happen to like the look of gold and it ties in well with what I have been doing in my bedroom herehere, here, and here.  

    As you may know by now, Etsy is one of my favorite places to look for affordable art as well as thrift stores.  I have found a lot of shops selling these types of gold foil prints, ranging in different prices from cheap to pricey, as well as pretty much any saying you can think of.  Also, the majority of these shops can cater to whatever color works best for your color scheme.  


I decided to give this a try, minus the gold foil, but still keeping the look of the gold.  I wanted cheap, but still looks good up on my walls, with a personalized feel to it.  It's a good thing I have an overflowing closet of what I like to think of as treasures.
Here's what I used to create my own artwork.


I had a couple of cheap frames stashed away, a couple of sheets of printer paper, some of my rub n' buff, and my gold sharpie by Krylon.  The most expensive item is my sharpie at a total of $7 if you don't use a coupon from Jo-ann Fabric. 


I used my rub n' buff for the frame.  I like how it gives a burnished look to the frame.  This took very little of the rub n' buff and only about 5 minutes per frame.


I decided on "His" and "Hers" for each side of our bed.  I took my Krylon sharpie and wrote it out in my best handwriting.  Okay, so I went through quite a few sheets of paper to make it look neat.  I added my washi tape to the top and bottom.


Pop it into the frame and hang....and voila instant artwork at very little cost.


Here it is on my husband's side of the bed.  (Note the holes in the wall), I need to patch that and then hang the matching Ikea sconce on his side.


If you look at the bottom left hand corner you will see my cat making an attempt to photo bomb.


I love my Martha Stewart sunburst mirror.


My $4 sheet from Ikea.


Close-ups of my needle point pillow off of Ebay and fabric I had turned into a pillow.  It's such a fun scene.